Rundeck playground environment on Kubernetes
• 6 minute read
rundeck, k8s, automation, kind, postgresql
Table of contents
Shorter incidents? Fewer escalations? That's something you can only understand playing with the real thing. So let's see Rundeck in action on Kubernetes! By the way, we'll use Rundeck Kubernetes Plugin to run our jobs on pods.
A very important notice: You can always stick with Helm, but there is no official chart. You can use the unofficial chart which is deprecated or the version that's been updated by the community. However, I think it's crucial to comprehend the details behind the curtain.
What you need to have before going on
We'll use kind to create our local Kubernetes clusters. The nodes will run on Docker, so you'll need that too. Finally, we'll run some commands to deploy manifests on K8S using kubectl. I have this script where you can copy and paste exactly what you need. All things said, let's continue.
Create a Rundeck image locally
Download the repository willianantunes/tutorials and access the folder 2022/05/rundeck-k8s. Run the command:
cd rundeck-custom-image && docker build -t rundeck-k8s . && cd ..We'll use this image on Kubernetes soon 😋. There are some comments here and there and a README explaining Remco. We can check out the official documentation also.
Create a Kubernetes cluster
To configure some aspects as port forwarding, we'll use a custom setup to change the default kind cluster creation. Let's run this command:
kind create cluster --config kind-config.yamlThat's the output:
▶ kind create cluster --config kind-config.yaml
Creating cluster "kind" ...
 ✓ Ensuring node image (kindest/node:v1.24.0) 🖼
 ✓ Preparing nodes 📦 📦
 ✓ Writing configuration 📜
 ✓ Starting control-plane 🕹️
 ✓ Installing CNI 🔌
 ✓ Installing StorageClass 💾
 ✓ Joining worker nodes 🚜
Set kubectl context to "kind-kind"
You can now use your cluster with:

kubectl cluster-info --context kind-kind

Have a nice day! 👋
Check out the ports we'll use to connect to Rundeck and PostgreSQL!
▶ docker ps
CONTAINER ID   IMAGE                  COMMAND                  CREATED         STATUS         PORTS                                                NAMES
efdab88979a4   kindest/node:v1.24.0   "/usr/local/bin/entr…"   5 minutes ago   Up 5 minutes   127.0.0.1:42595->6443/tcp, 127.0.0.1:80->32000/tcp   localtesting-control-plane
10312a74eb6b   kindest/node:v1.24.0   "/usr/local/bin/entr…"   5 minutes ago   Up 5 minutes
Sanity check
Do you know what happens when you delete a namespace? Can you imagine doing it in your company's cluster? So, it's crucial making sure you are using the proper context created by kind:
▶ kubectl config current-context
kind-kind
Create a dedicated namespace
We need a namespace responsible for support tools. So, let's create one and make it the default from now on.
kubectl create namespace support-tools
kubectl config set-context --current --namespace=support-tools
Load the Rundeck image into the Kubernetes cluster
To enable the cluster using the image we built, we can use the following kind command:
kind load docker-image rundeck-k8s:latestYou can get a list of images present on a cluster node by using the following commands:
docker exec -it kind-worker crictl images
docker exec -it kind-control-plane crictl images
Install all the required manifests
I recommend leaving this enabled on one dedicated terminal:
kubectl get events -wThen we can create the required manifests:
kubectl apply -f k8s-manifests/0-database.yaml
kubectl apply -f k8s-manifests/1-permissions.yaml
kubectl apply -f k8s-manifests/2-secrets-and-configmap.yaml
When PostgreSQL is fine, we should be good to go to the final step. See the logs to make sure:
kubectl logs -f deployment/db-postgres-deploymentInstall Rundeck
Just issue the following command:
kubectl apply -f k8s-manifests/3-service-and-deployment.yamlIt's important checking out the logs in case something wrong occurs:
kubectl logs -f deployment/rundeck-k8s-deploymentWait a few minutes until you see this:
[2022-05-22T17:45:57,279] INFO  rundeckapp.Application - Started Application in 153.59 seconds (JVM running for 162.918)
Grails application running at http://0.0.0.0:4440/ in environment: production
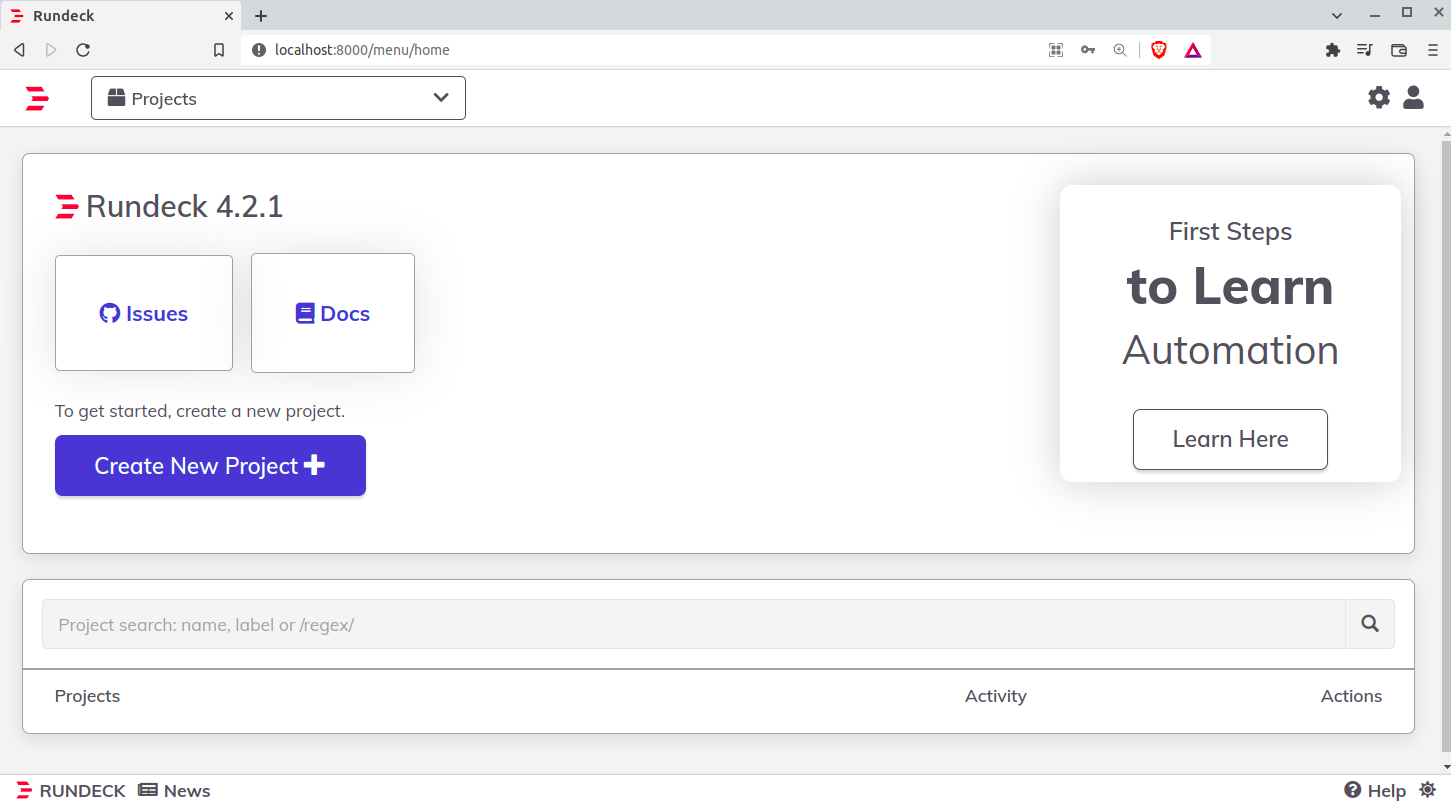
You should be able to access http://localhost:8000/. Use admin for username and password. That's the logged landing page:
Explaining why we use Init Containers
Later we'll see we won't configure any authentication to run our jobs on Kubernetes. This will happen because Rundeck will use the kubeconfig found in ~/.kube/config. As the deployment has a service account attached, Kubernetes makes sure each pod spawned by it has a volume with the service account credentials. Thus we merely create the file through kubectl and use a volume to share it with the main container.
Rundeck in Action with K8S plugin
Let's import the following jobs definitions:
- Create database.
- Create schema in a database.
- Create a user with DDL, DML, and DQL permissions in a dedicated database and schema.
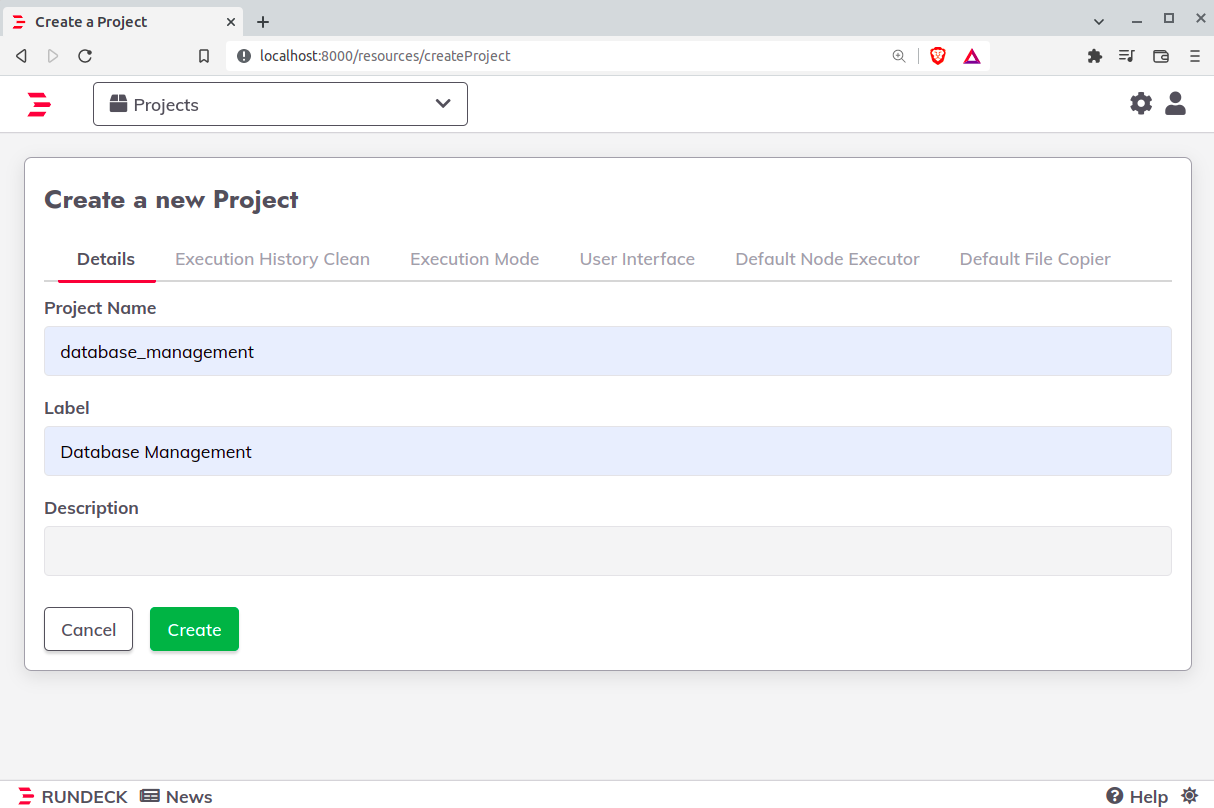
But before doing this, we need a project to import the manifests. So click on create new project, leave as the image below and click on create:
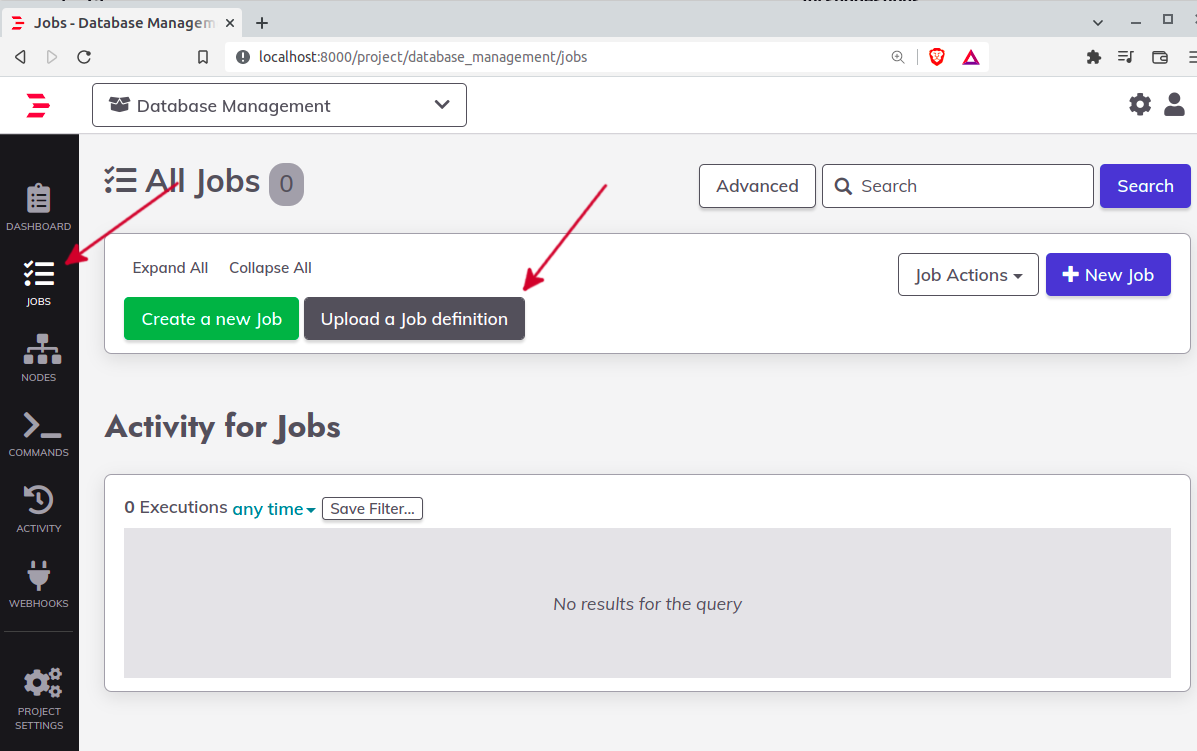
On your left, click on jobs and then click on upload a job definition:
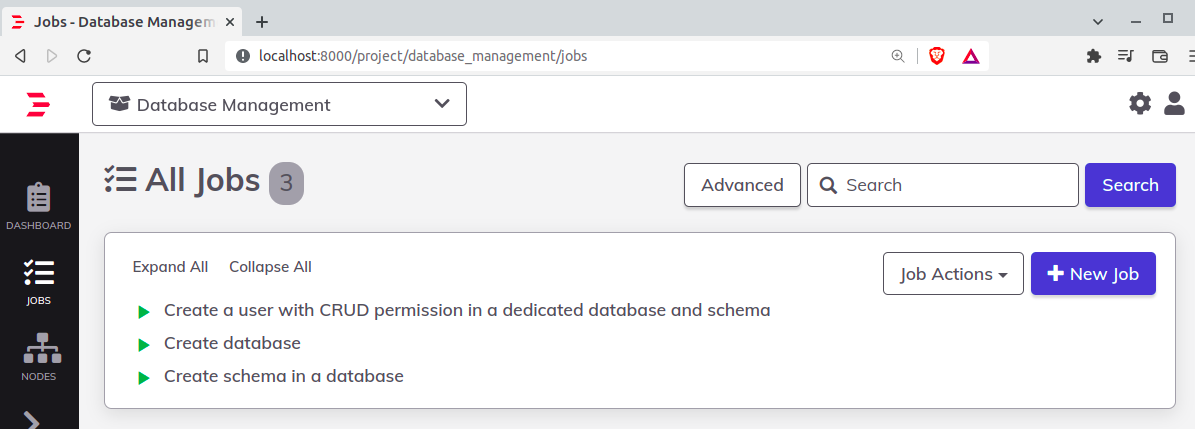
Select YAML format, then import the files located here. By the end of the process, you'll have the following:
Now click on Create database and type db_prd. Finally, click on Run Job Now.

You can follow the execution and check out the result:
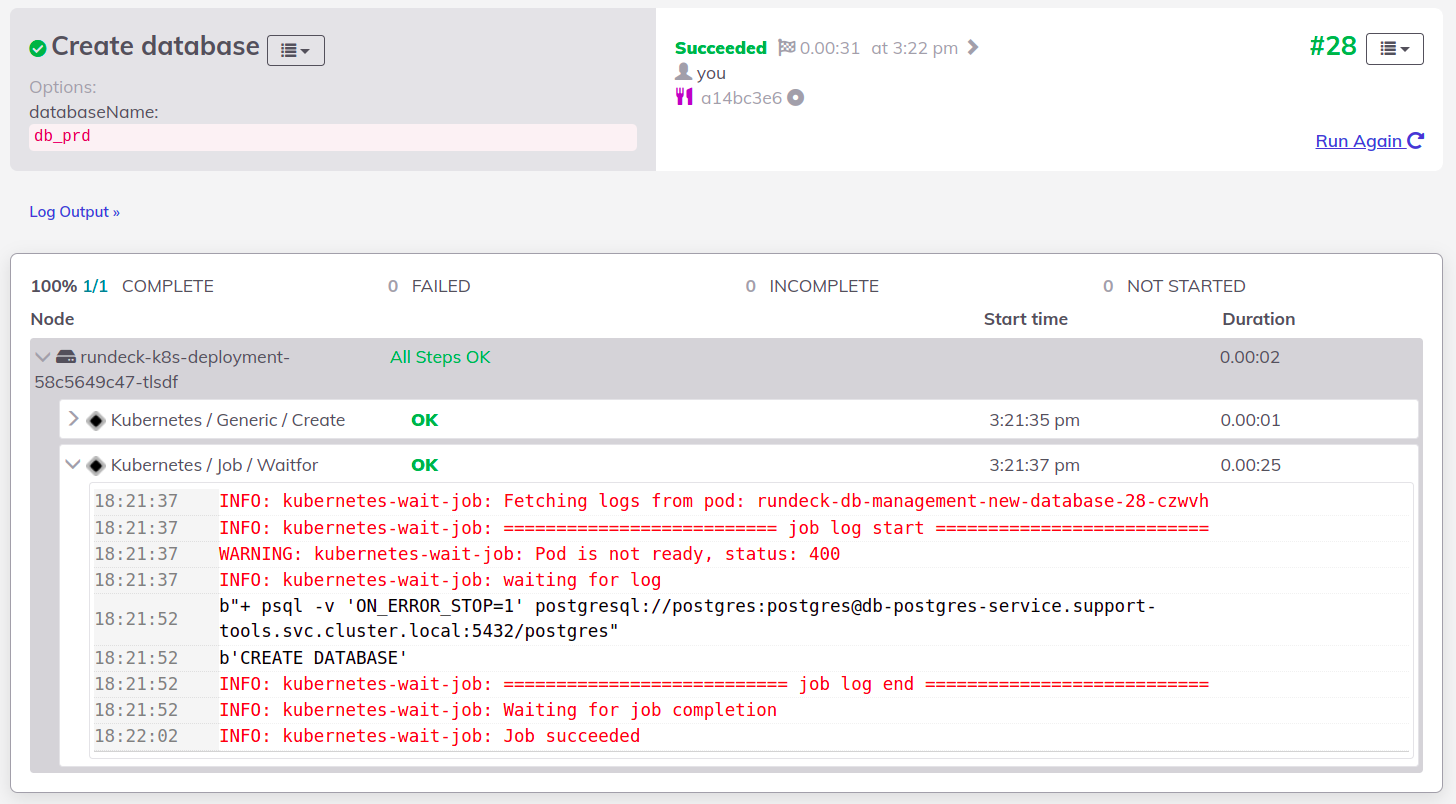
Now create a schema named jafar in db_prd:

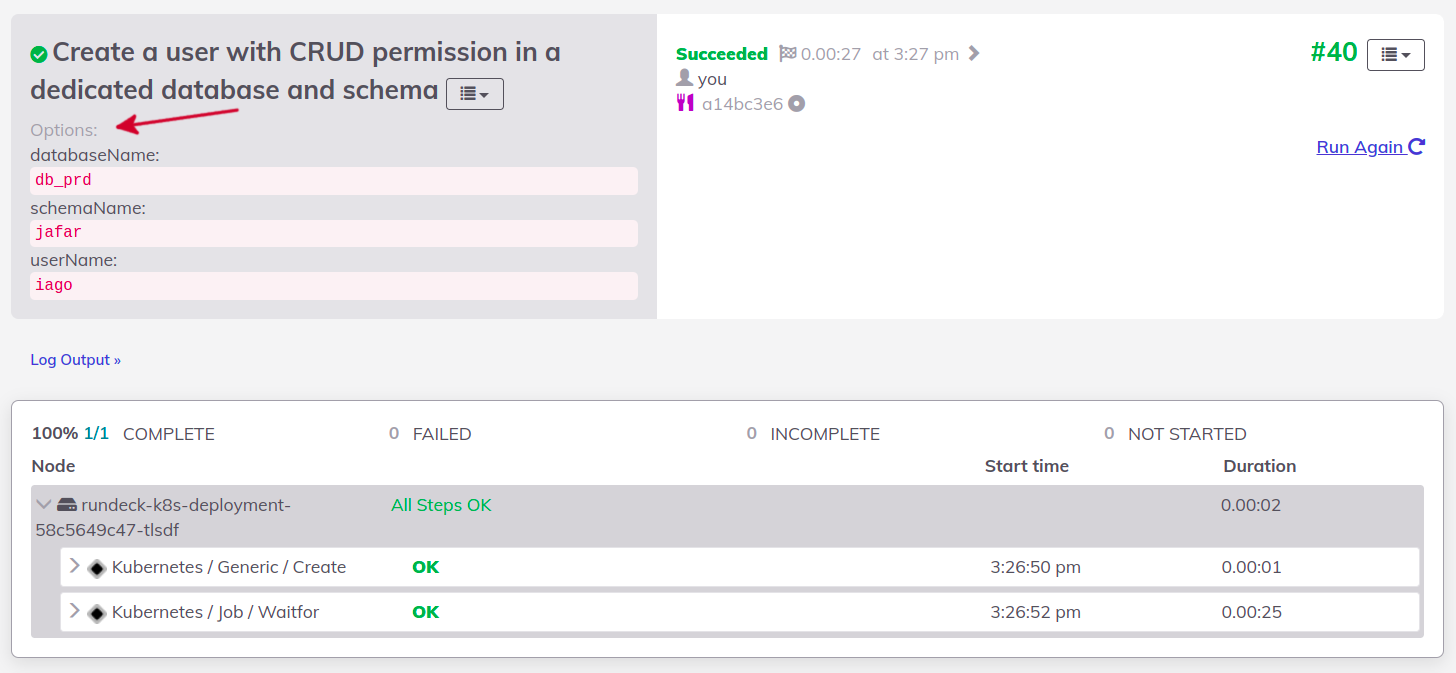
When it's done, create a user using iago for username and password in jafar schema and db_prd database.
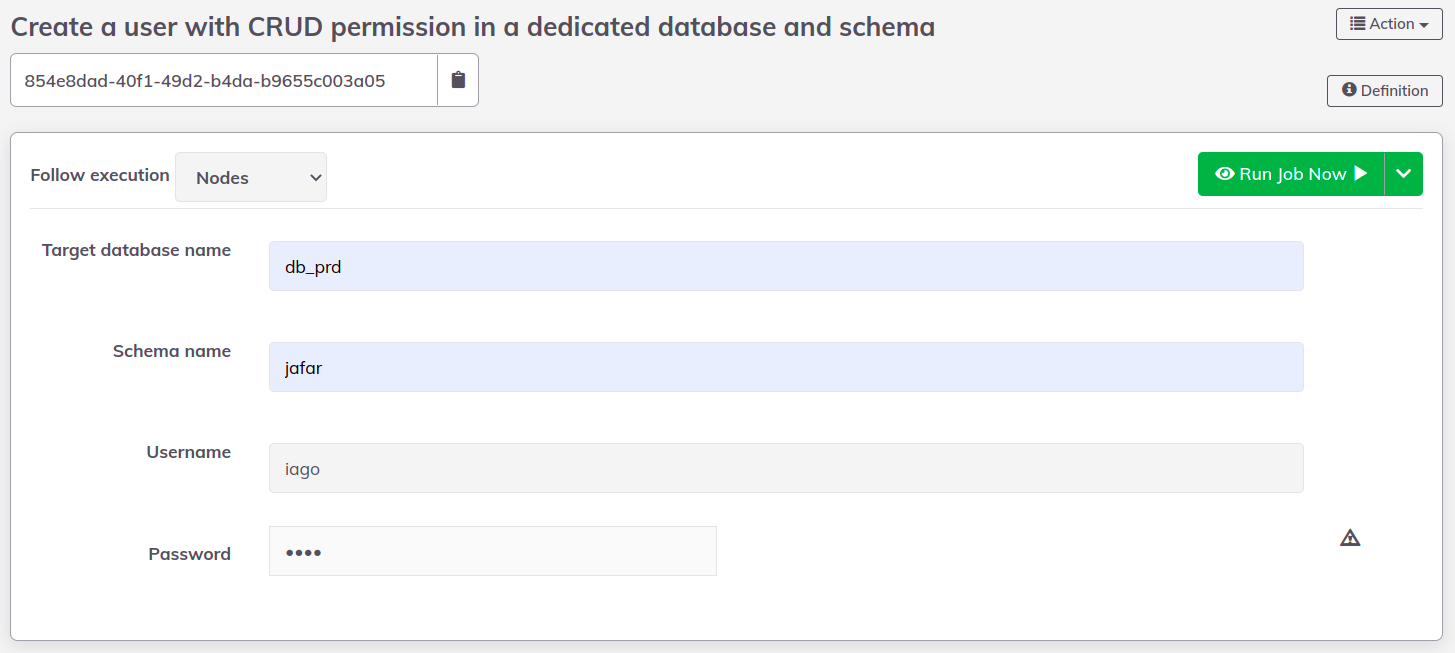
The result only shows the options that are not confidential:
Do you remember the port forward we configured for PostgreSQL? How about testing the connection using the user above 🤩?
Clean up everything
One command is enough to delete everything 😎:
kind delete clusterConclusion
Sooner or later, your company will need a tool like Rundeck. This story illustrates a very likely actual situation. The jobs we saw are simple samples. I invite you to edit the jobs on Rundeck and understand how it was written. There are many options available, and with the Kubernetes integration, the sky's the limit.
See everything we did here on GitHub.
Posted listening to Bad Horsie, Steve Vai 🎶.